Canasta
A downloadable game for Windows
# Canasta — The Settings FAQ (Every Knob, Lovingly Explained, Mildly Judged)
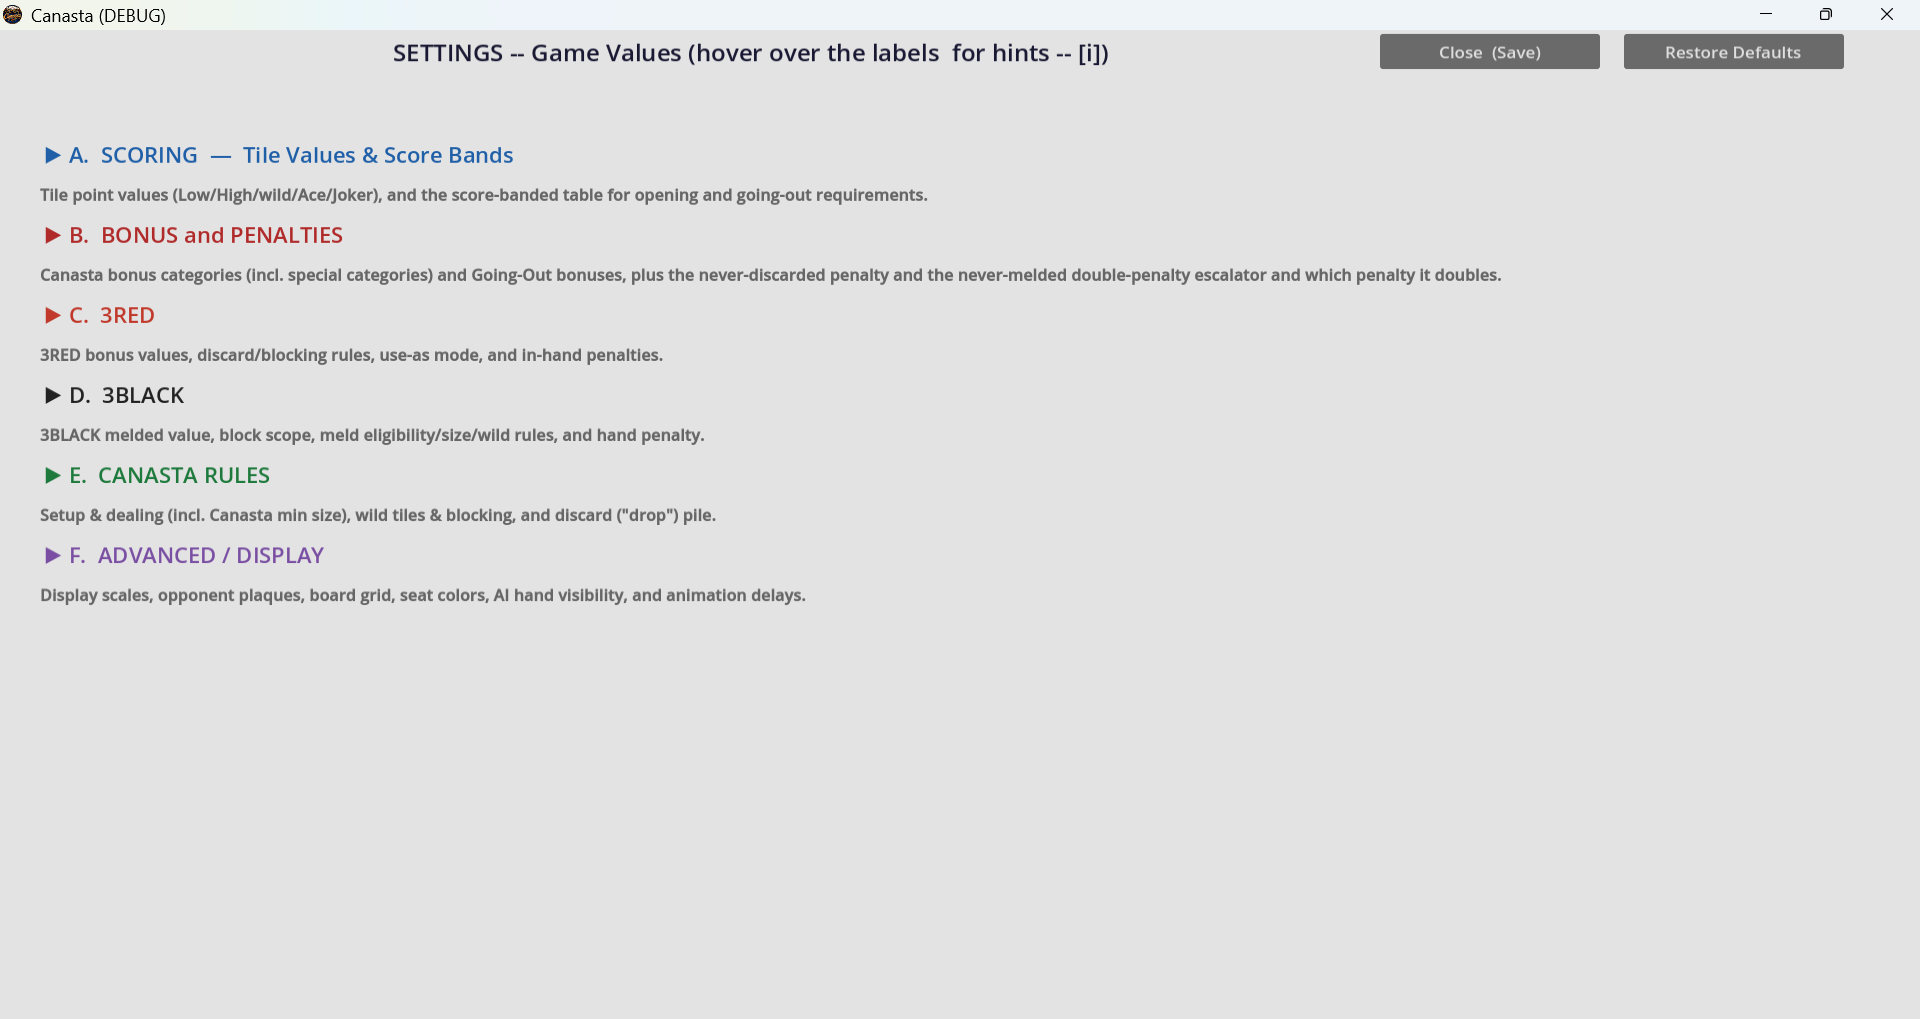
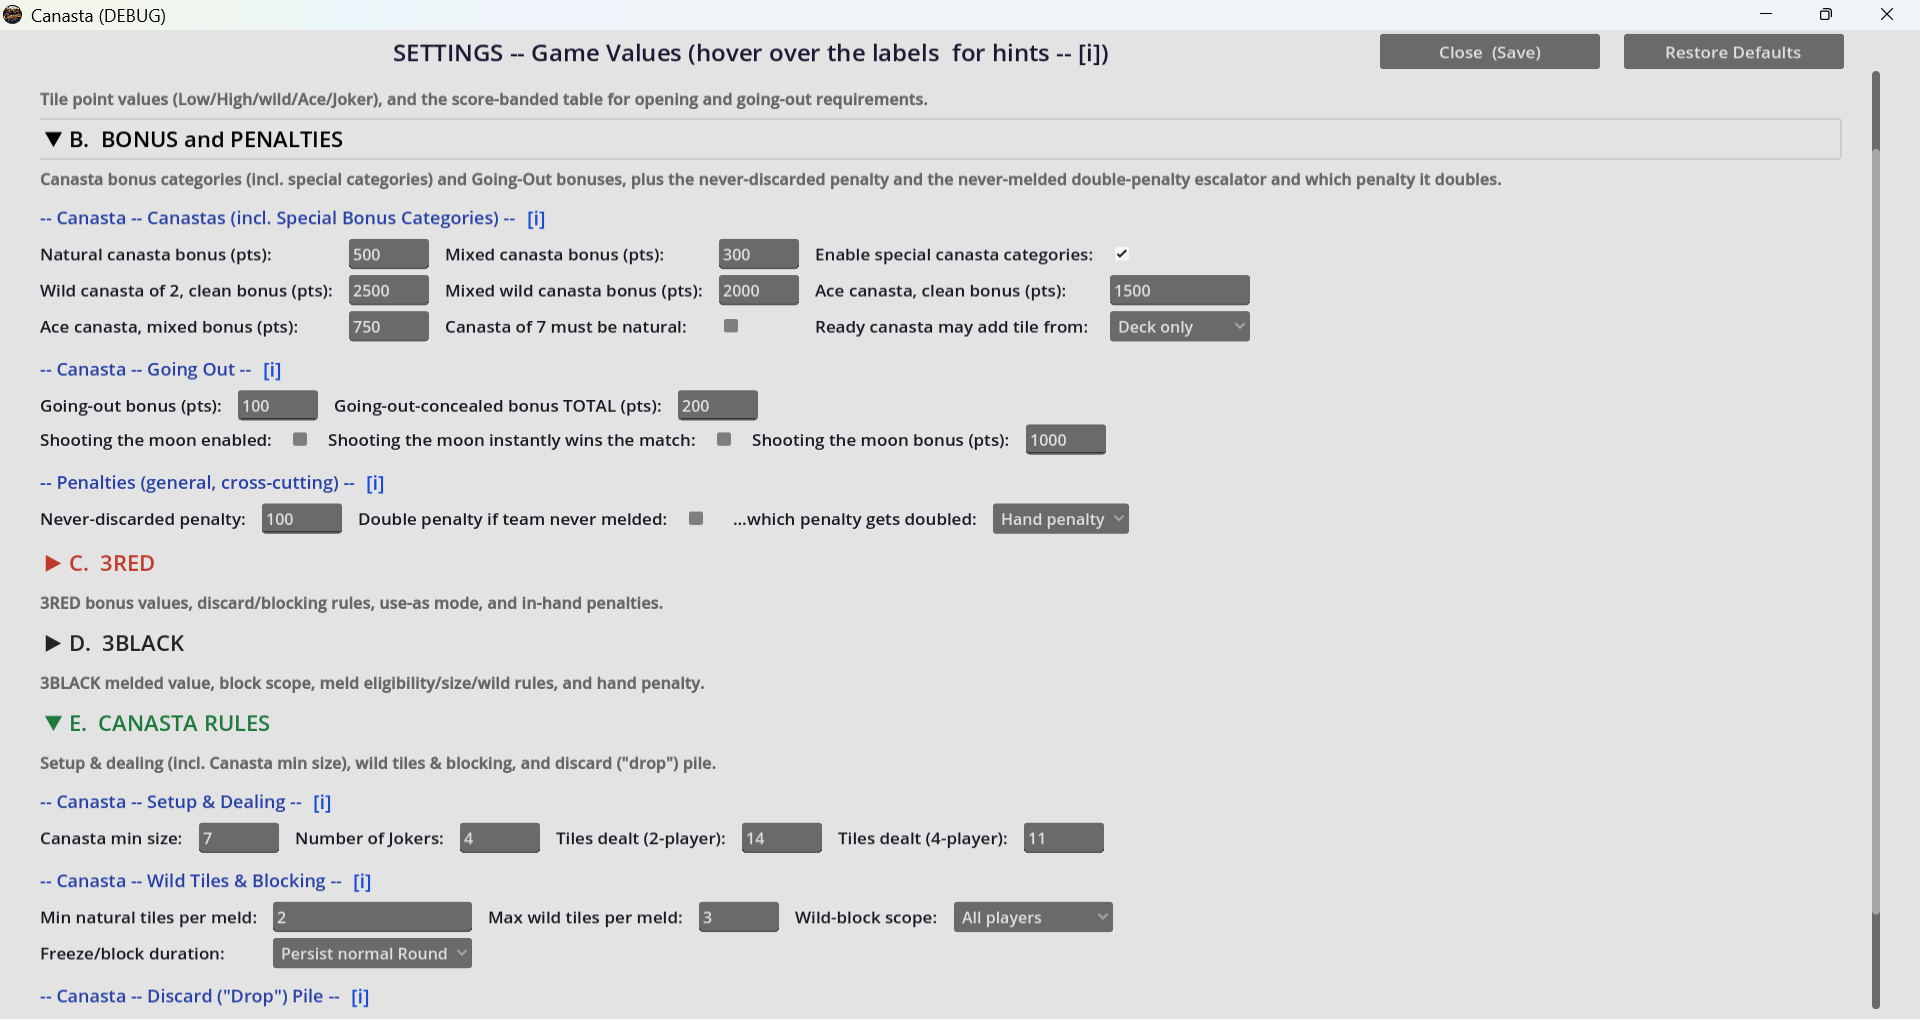
There are a lot of dials in this game. Like, a suspicious number of dials. Enough that "Restore Defaults" is basically a support hotline. Below is every single one, grouped the way the Settings screen groups them, with what it actually does, what happens when you tug it too far in either direction, and a worked example so you're not just taking our word for it. Every value shown is the out-of-the-box default for a fresh Level — remember each of Easy/Basic/Hard keeps its own totally independent copy of all of this, so cranking Hard into a monster changes nothing about Easy.
---
## Setup & Dealing
**`canasta_num_jokers` (default 4, legal range 2–6)**
How many Jokers are shuffled into the game. Default 4 is the "reasonable chaos" setting. Drop it to 2 and Jokers become a rare, precious commodity everyone hoards like toilet paper in 2020. Crank it to 6 and you're basically playing Wild Canasta: The Musical — All-Wild canastas get dramatically easier, hand penalties get dramatically scarier (a stray Joker in hand at round end is still -50), and the AI's wild-budgeting logic has to work overtime.
**`canasta_deal_count_2p` (default 14) / `canasta_deal_count_4p` (default 11)**
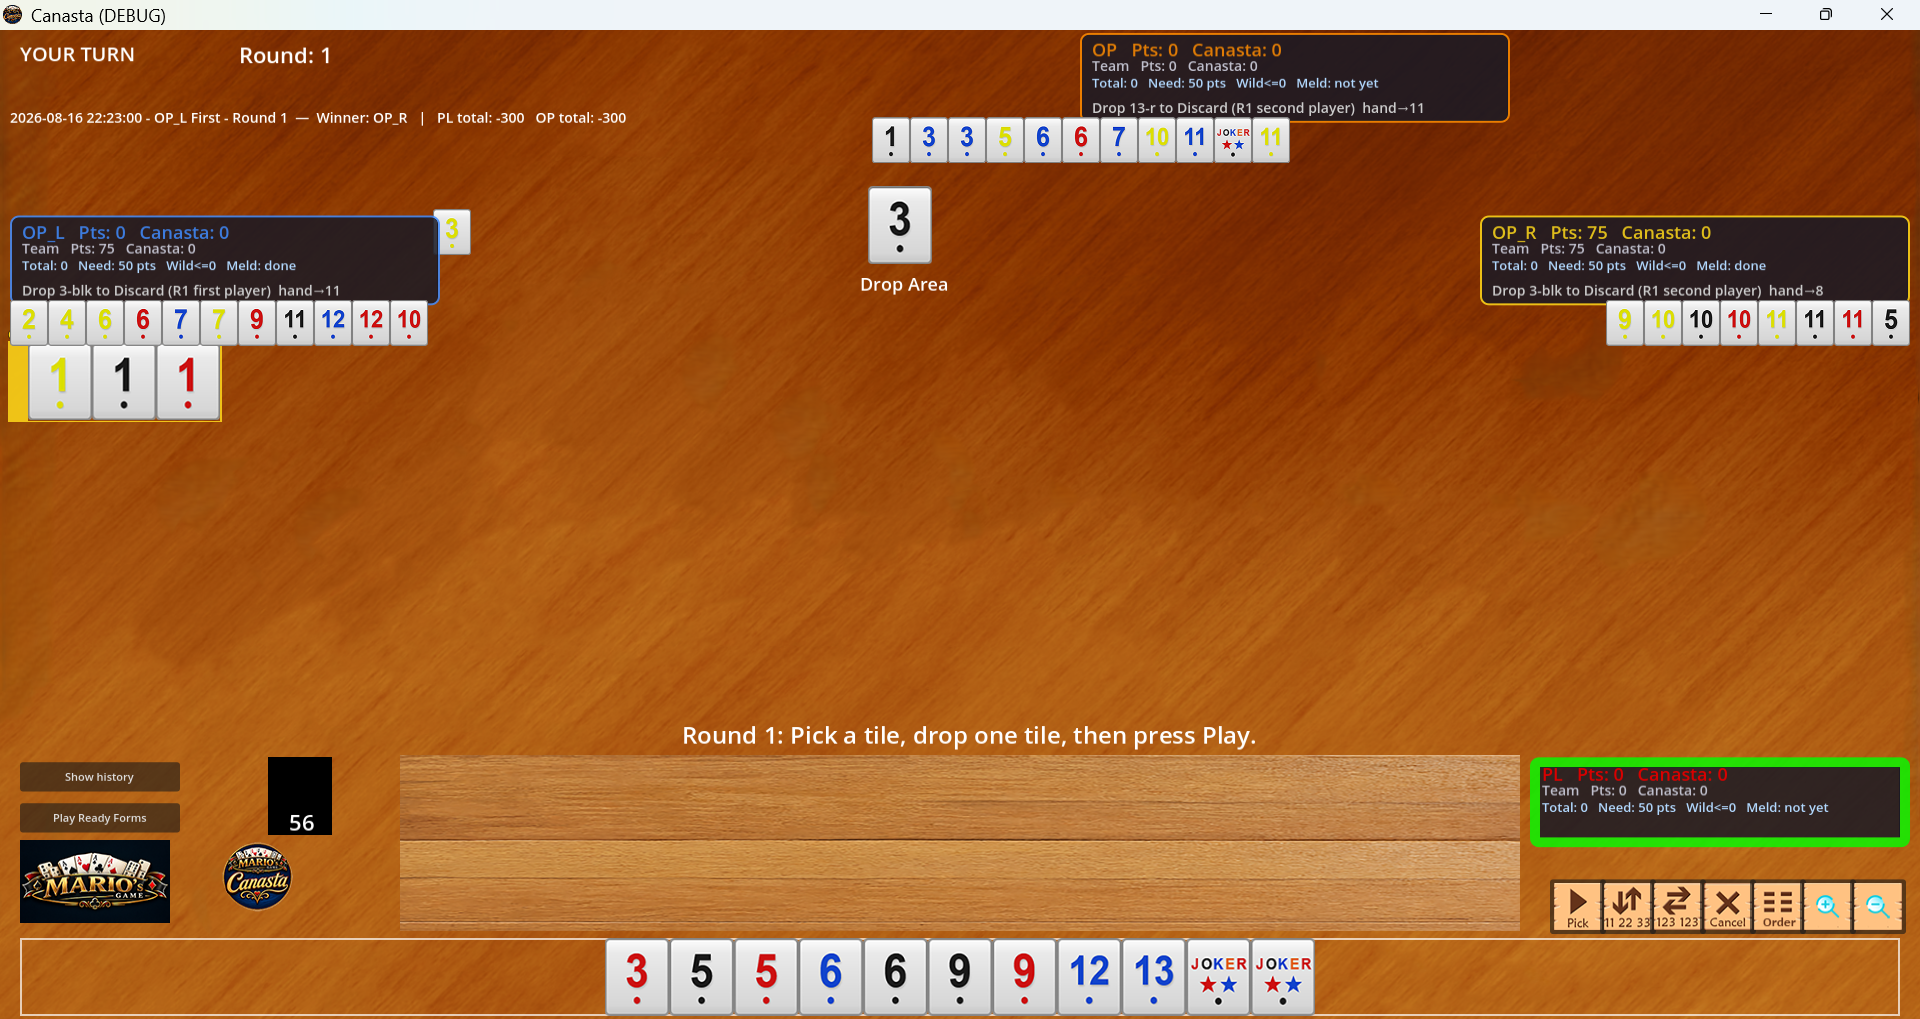
Starting hand size — 14 tiles solo, 11 with four players (same shared deck, twice the mouths to feed, so everyone gets a smaller starting bite so the deck doesn't tap out in record time). Raise either one and rounds get longer and canastas get easier to assemble; lower it and you'll be scrambling for tiles almost immediately. First player also gets +1 extra tile automatically — that's not a setting, that's just the rules being polite to whoever has to discard without drawing first.
**Pick (Deck Draw) Count — `canasta_pick_count_pl_2p` / `_pl_4p` / `_op_2p` / `_op_4p` / `_opl` / `_opr` (all default 1)**
How many tiles a Pick action pulls from the Deck, settable per seat and per player-count. Leave everything at 1 for the normal experience. Set PL's to 2 and suddenly you're drawing twice as fast as everyone else while they stare at you in quiet betrayal — a great way to break the game on purpose if that's your idea of a fun Tuesday, or to build a deliberately lopsided "help the human" difficulty mode.
---
## Wild Tiles & Blocking
**`canasta_min_natural_per_meld` (default 2) / `canasta_max_wild_per_meld` (default 3)**
Every meld needs at least 2 real (non-wild) tiles, and can carry at most 3 wild ones — AND (this part isn't even a toggle, it's just hardcoded law) wilds must always be strictly outnumbered by naturals in the same meld. So 3 naturals + 3 wilds sounds legal by the numbers above but is still rejected, because 3 is not less than 3. Lower `max_wild_per_meld` to 1 and you've built a much more natural-tile-dependent game; the AI's whole wild-budgeting brain (see the Strategies FAQ) still respects whatever you set here.
**`canasta_wild_block_scope` (default 1 = all other players; 0 = next player only, 2 = opposing team only)**
Who gets locked out of the pile when a wild freezes it. Default punishes everybody equally. Set it to "next player only" if you want freezing to feel more like a light jab than a body slam; set it to "opposing team only" in a 4-player game if you'd like your own team to enjoy a private VIP pile-access lane your opponents can only dream about.
**`canasta_freeze_block_duration` (default 1 = persists the rest of the Normal Round; 0 = clears after one Loop)**
How long a freeze actually lasts. Default is the "old-school, this pile is cursed until someone exorcises it with a natural pair" behavior — genuinely punishing, genuinely strategic. Flip it to 0 and freezes become a courtesy pause rather than a real deterrent, since it clears itself after one lap around the table regardless of what lands on top.
**`canasta_pile_wild_top_busts_via_all_wild_canasta` (default true)**
The rule for the truly cursed case: the pile's top tile is ITSELF wild (so the usual "2 matching naturals" bust is mathematically impossible — there's no such thing as a "natural 2," and a Joker doesn't even have a rank). With this on, the ONLY way anyone ever claims that pile is by already holding enough wild tiles in hand (6, at the default canasta size of 7) to turn the pickup straight into a finished All-Wild Canasta. Turn it off and a wild-topped pile can, under the right circumstances, become permanently unclaimable for the rest of the round — a monument to bad luck that everyone just has to live with.
---
## Threes — Bonus (3RED) & Block (3BLACK)
**`canasta_bonus_three_value` (default 100) / `canasta_bonus_three_all_four_value` (default 200)**
Each declared 3RED is worth 100 — until your team declares all 4 of them, at which point EVERY one of those four retroactively jumps to 200 each (800 total, not 700 — the rate applies to all four, not just the last one). It's a "collect the set" bonus dressed up as per-tile scoring. Crank `all_four_value` way up and suddenly hoarding 3REDs for the full-set bonus becomes a genuine strategic subplot instead of a footnote.
**`canasta_block_three_value_if_melded` (default 5) / `canasta_block_three_hand_penalty` (default 100, i.e. -100)**
A melded block-three is worth a token 5 points — this was never going to be your main scoring plan. Left stuck in your hand at round's end, though, it costs you -100. That 20x swing is the game's not-at-all-subtle way of saying "please do something with your block-threes before the deck runs dry." The AI takes the hint too — regardless of every other discard-safety opinion it holds (see the Strategies FAQ's `strat_safe_discard_rank_preference`), a block-three in hand always jumps straight to the front of the discard queue. No amount of "but this other tile looked safer" is allowed to argue it out of that spot.
**`canasta_block_three_block_scope` (default 0 = next player only) / `canasta_block_three_last_turn_exception` (default false)**
A discarded block-three blocks pile access for whoever's scoped (default: just the next player — much gentler than a freeze's default "everyone" scope). The last-turn exception, off by default, lets a scoped player grab an otherwise-blocked pile anyway if doing so would let them go out THIS turn — flip it on if you think a game-ending pile grab deserves a "well, technically" loophole.
**The [3BLACK] Meld group — `canasta_block3_meld_allowed` (default true, master switch), `canasta_block3_meld_min_size` (default 4), `canasta_block3_meld_allow_wild` (default false), `canasta_block3_meld_going_out_only` (default false), `canasta_block3_meld_extendable` (default false)**
Because only 4 block-three tiles exist in the whole game (2 black + 2 blue), this whole side-quest has a hard ceiling: at most 4 real tiles, or 3 real + 1 wild if you allow substitution. It's NEVER a real canasta — no bonus category rescues it, it exists purely so a player drowning in dead block-threes late in the round has an escape hatch better than eating the -100 penalty. `min_size` = 3 lets a leaner shape through; `allow_wild` lets exactly one wild fill a slot (never more, whatever you set); `going_out_only` restricts it to your literal final, hand-emptying play; `extendable` lets the ORIGINAL founder (never a teammate) add more block-threes to it on a later turn instead of it being locked the instant it's laid down. Turn `block3_meld_allowed` off entirely and block-threes go back to being pure liability — discard them or eat the penalty, no third option.
**The [3RED] group — `canasta_red3_requires_first_discard` (default false), `canasta_red3_can_end_game` (default false), `canasta_red3_hand_penalty` (default 100) / `_hand_penalty_all4` (default 200), `canasta_red3_allow_drop_to_pile` (default false), `canasta_red3_drop_pile_action` (default = normal freeze), `canasta_red3_block_all_players` (default true)**
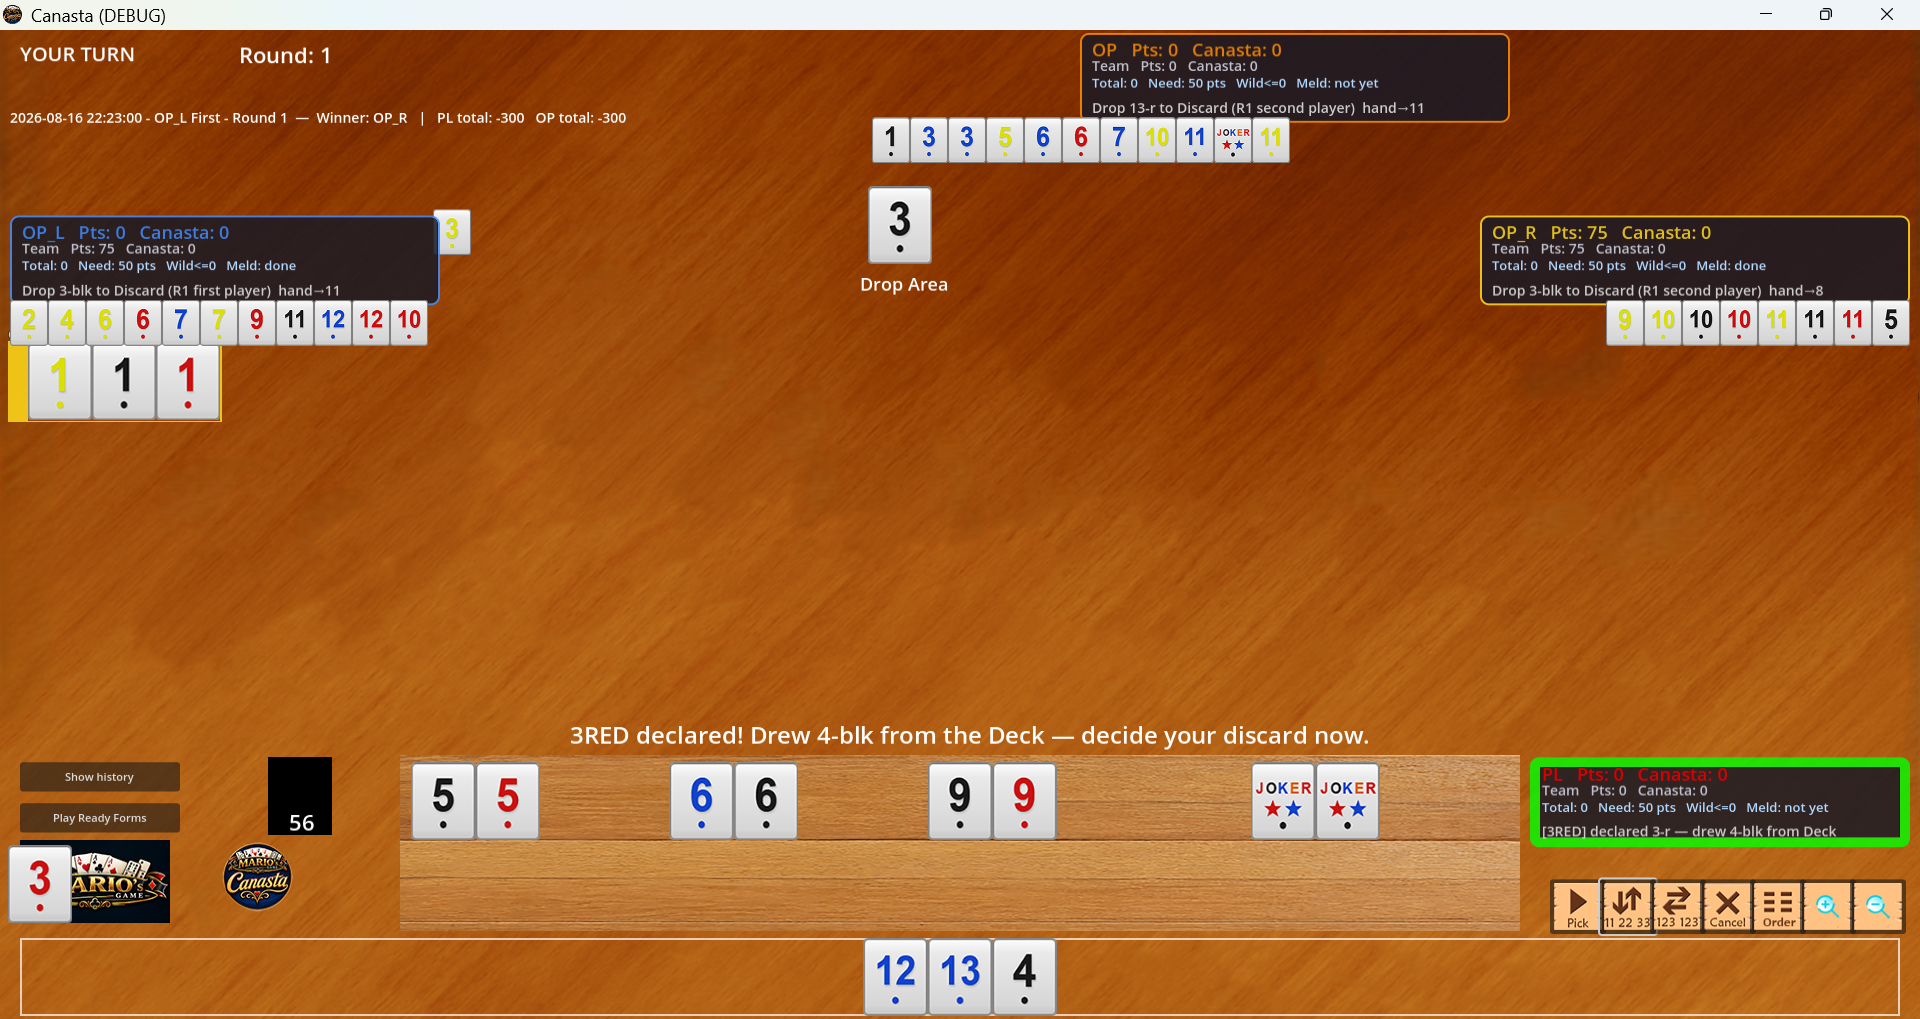
By default a 3RED auto-declares the moment its owner's own turn allows it — no waiting for your team's first meld. Turn `requires_first_discard` on and a 3RED just sits in your hand, dormant, looking suspiciously like an ordinary rank-3, until your team actually opens. `can_end_game` (off by default) decides whether a 3RED is allowed to be the literal tile that ends the round — mostly moot since auto-declare usually empties it out of hand long before that's even possible. `hand_penalty`/`_all4` are what a NEVER-DISCARDED team pays for 3REDs still sitting in hand (100 each, 200 each if holding all 4) — being declared no longer protects you from this if your team never opened at all, so a fast-declaring team that then never melds anything is still in trouble. `allow_drop_to_pile` (off by default) is the nuclear option: turn it on and 3REDs stop auto-declaring altogether, becoming a fully player-discretionary tile you can discard like anything else — at which point `drop_pile_action` decides what that discard even does to the pile (normal wild-style freeze by default, a dedicated one-turn-only block, or nothing at all), and `block_all_players` scopes that dedicated block the same way `wild_block_scope` does elsewhere.
---
## Initial Meld Requirement — Score-Banded Table
This is the big one: your team's very FIRST meld of the round has to clear a point floor, and the floor (plus how many wild tiles you're allowed to lean on to reach it) gets meaner as your team's cumulative score climbs. Five rows, two shared boundary checkpoints:
| Row | Score range | Min points (`canasta_initial_meld_negative/low/mid/high`) | Max wild (`canasta_initial_meld_max_wild_negative/low/mid/high/top`) |
|---|---|---|---|
| Negative | below 0 | 15 | 0 |
| mid-band | 0 – 1,499 | 50 | 0 |
| high-band | 1,500 – 2,999 | 90 | 1 |
| canasta-band | 3,000 – 4,999 | 120 | 2 |
| target-band | 5,000+ | any completed canasta | (moot — canasta required regardless) |
`canasta_initial_meld_band_mid_at` (1500) and `canasta_initial_meld_band_high_at` (3000) are the two shared boundary checkpoints every one of these ladders reads from — nudge either one and you reshape every row above and below it at once. `canasta_initial_meld_full_canasta_above` (5000) is where the top row kicks in, gated by its own on/off switch `canasta_initial_meld_full_canasta_enabled` (default true — turn it off and the table quietly collapses back to 4 rows, running the canasta-band's rules unbounded forever). `meld_direct_with_canasta_always_ok` (default true) means a completed canasta always satisfies whatever row you're in, no math required.
Practical implication: being deep in the negative is, weirdly, the EASIEST time to open (only 15 points, no wilds needed — comeback mechanics!), while a team sitting pretty at 6,000 points has to open with an actual finished canasta. Rich people problems.
**3+ Wild Initial-Meld Exception — `canasta_initial_meld_wild_exception_enabled` (default true) / `canasta_initial_meld_wild_exception_allow_negative` (default true)**
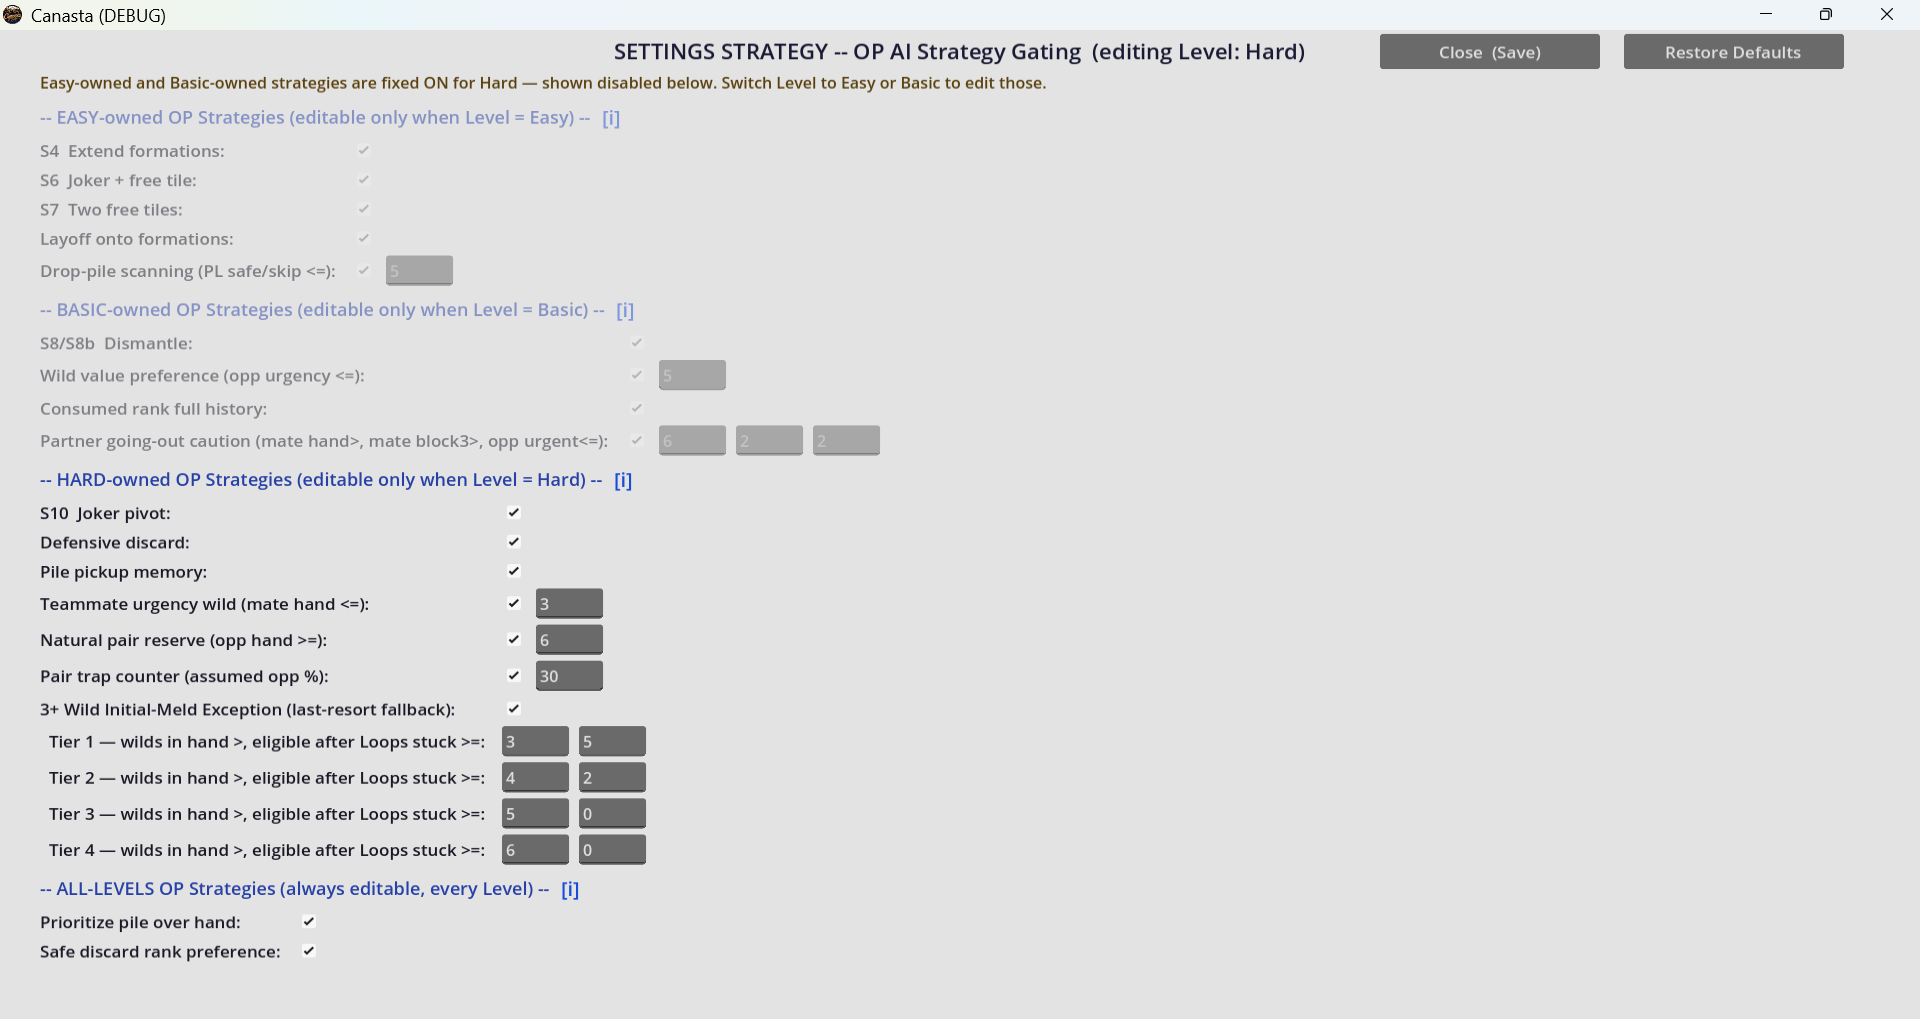
The break-glass clause: a formation made ENTIRELY of 3+ wild tiles can blow straight through the row's normal wild cap, as long as it still clears the row's point floor on the wild tiles' own value, and as long as it can only ever become an All-Wild Canasta (never an ordinary meld). Worked examples at default floors: 50 points via three 2s (2,2,2 = 60), 90 points via two 2s and a Joker (2,2,J = 90), 120 points via two Jokers and a 2 (J,J,2 = 120). The `allow_negative` toggle is a separate, narrower switch just for the negative-score row — kept independent because a SINGLE Joker (50 points) already clears that row's lenient 15-point floor on its own, so allowing this exception there is a bigger comeback swing than at any other row. Turn `enabled` off and this whole escape hatch disappears — you're back to the plain wild cap, full stop. This rule is available to every player, human and AI alike; the AI's own use of it is governed separately on the Settings Strategy screen (see the Strategies FAQ) — set it here, but the AI's actual willingness to attempt it lives over there.
---
## Discard ("Drop") Pile
**`canasta_freeze_requires_natural_pair` (default true)**
Whether busting a freeze needs 2 natural tiles matching the top tile's rank. Turn this off and freezes become a formality — anyone can just scoop the pile whenever, which rather defeats the point of freezing it in the first place. Leave it on unless you actively want freezing to stop meaning anything.
**`canasta_surprise_count` (default 3)**
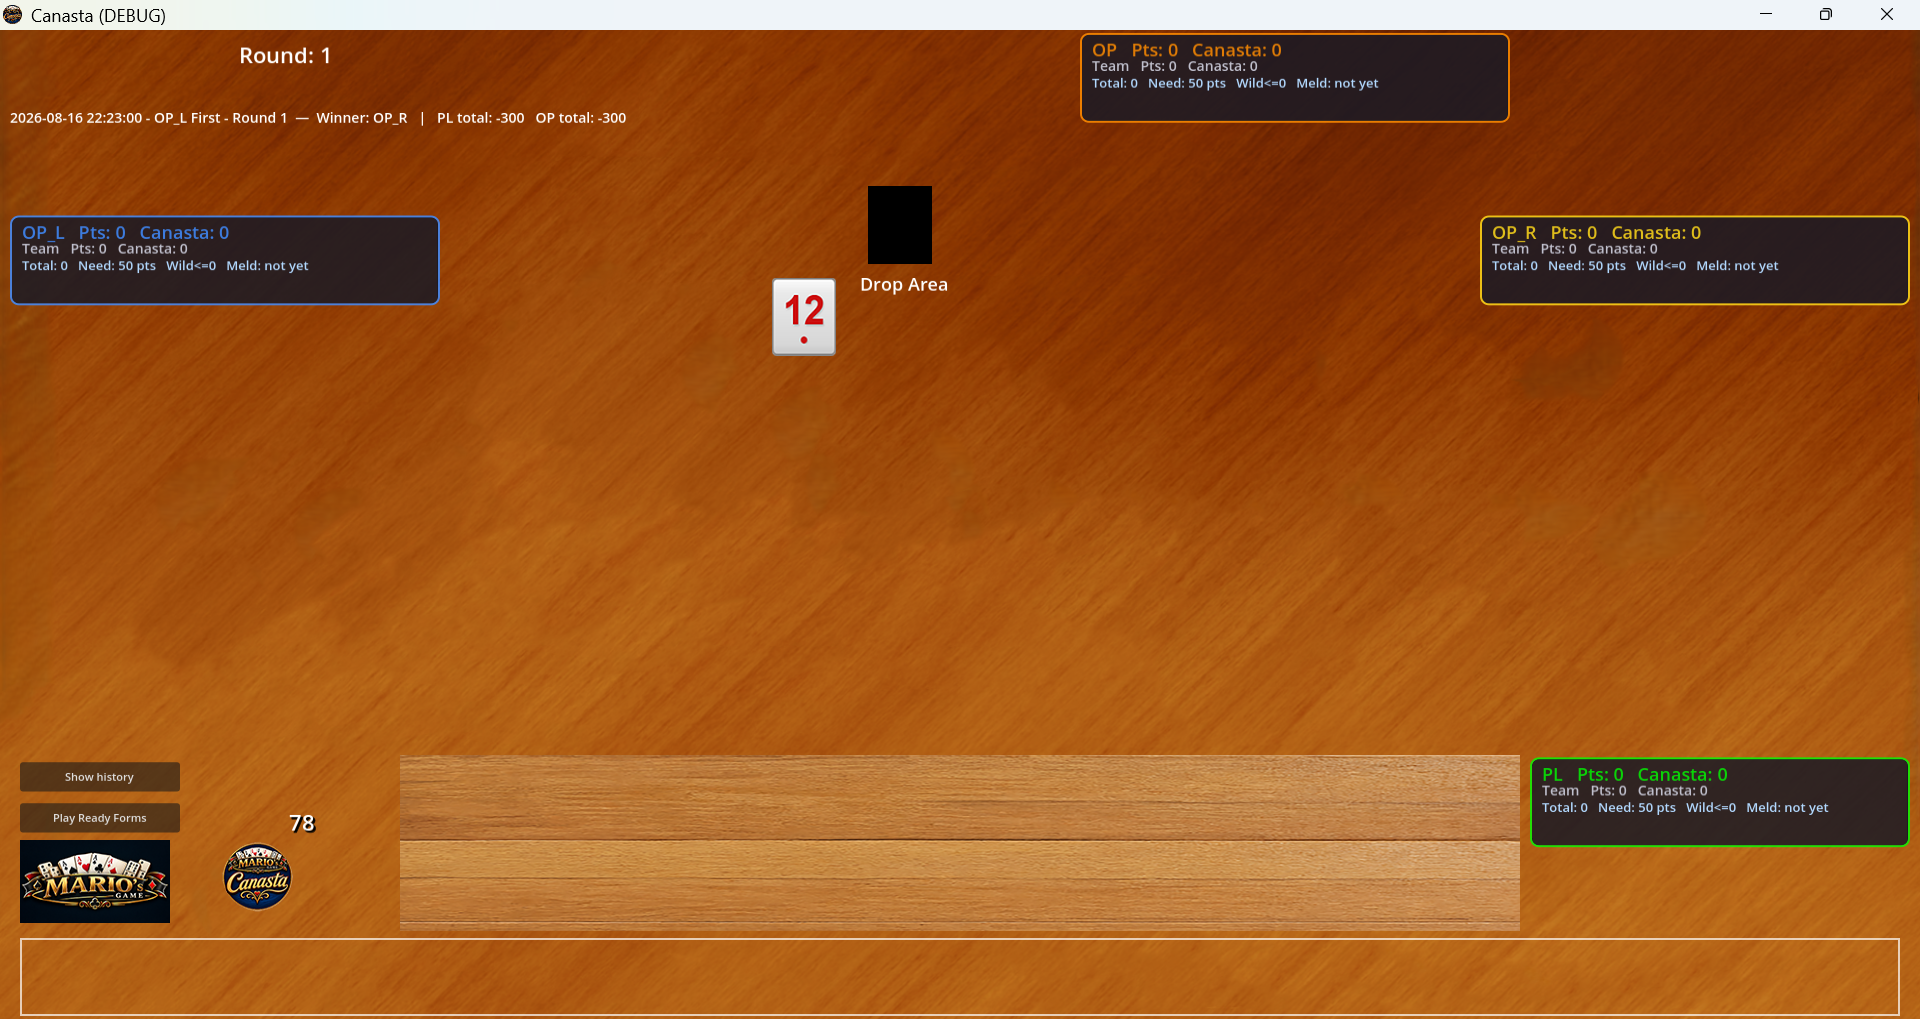
How many tiles get buried face-down under the pile's very first face-up tile at deal time — the "surprise stack." Whoever first claims the whole pile this round (turn 1's natural top, or later by busting a freeze) gets these as a bonus, sight unseen. Raise it and pile pickups become juicier lottery tickets; set it to 0 and the pile starts the round as an open book with nothing hidden underneath.
---
## Canastas
**`canasta_min_size` (default 7)**
The magic number — how many same-rank tiles make a canasta. Lower it and canastas (and their big bonuses) start flowing embarrassingly fast; raise it and you'd better bring snacks, because this round is going to take a while.
**`canasta_closes_rank_at_min_size` (default false = Classic/keep-adding)**
Classic International style (default): once a rank hits 7, your team can KEEP piling more of that rank onto it turn after turn for extra face value, forever, still subject to the max-wild-per-meld cap. Flip it to true for Modern American style: the instant a rank hits 7, it's DEAD — nobody, not even the team that completed it, may ever meld that rank again. Great if you want canastas to feel like a finish line instead of an ongoing hobby.
**`canasta_ready_meld_allows_pile_layoff` (default false = "Deck Only")**
Whether a tile picked straight off the Drop pile can be laid directly onto an ALREADY-completed (7+) canasta in that same motion. Default ("Deck Only") says no — that pile tile can start or feed a still-open meld, or found a brand-new one, but it can't walk straight onto a finished stack; only a Deck-drawn tile can do that. Flip to "Deck and Pile" (true) to remove the restriction entirely. This exists specifically to stop "grab the whole pile just because it has an easy, always-legal home" from being a trivially safe move.
**Base bonuses — `canasta_natural_bonus` (default 500) / `canasta_mixed_bonus` (default 300)**
The bread and butter. An all-natural canasta pays 500; sneak even one wild tile in and it drops to 300 mixed. That 200-point purity tax is why players agonize over whether to "spoil" a nice natural run with a convenient Joker.
**`enable_special_canastas` (default true)** — master switch for the whole fancy-category system below. Turn it off and Wild/Ace canastas stop existing as special things; they just resolve as ordinary natural (500) or mixed (300) canastas like anything else.
**Wild & Ace specials — `canasta_wild_bonus` (2500, clean = rank-2s only, no Jokers) / `canasta_wild_mixed_bonus` (2000, mixed = rank-2s + Jokers together) / `canasta_ace_clean_bonus` (1500) / `canasta_ace_mixed_bonus` (750)**
The good stuff. A clean all-wild canasta (nothing but 2s — "clean" because a pure-Joker canasta is structurally impossible; the game only ever ships 2-6 Jokers, one short of 7) pays a jaw-dropping 2500. Mix in a Joker or two and it's still a very respectable 2000. All-Ace runs the same game: 1500 clean, 750 the moment a wild joins in. Whether you land in the clean or mixed bucket is decided purely by "does this formation contain at least one Joker" — an all-2s canasta counts as CLEAN even though rank-2 is technically wild itself, which is exactly the kind of rules-lawyer detail that wins bar arguments.
**`canasta_sevens_pure_only` (default false)**
When ON, a canasta that reaches exactly 7 tiles must be all-natural to count as complete — a mixed 7-tile pile just sits there, valid-looking but not actually finished, until it either goes natural or grows an 8th tile some other way (depending on your other settings). Off by default, meaning a 7-tile mixed canasta closes out completely normally.
---
## Going Out
**Score-banded requirements — `canasta_go_out_canastas_team_negative/low/mid/high/top` and the matching `_solo_*` set, plus `canasta_go_out_naturals_team_*` / `_solo_*`**
How many completed canastas your team (or you, solo) needs before you're even allowed to go out — score-banded the same way the initial-meld table is, sharing the same two boundary checkpoints. Defaults: 1 canasta for a team / 2 for solo at every row except the top (5,000+), which demands 2 for both — AND the top row is the only one that also demands at least 1 of those canastas be fully NATURAL (every other row's naturals-needed figure defaults to 0, meaning any canasta, mixed or not, counts). Crank the naturals-needed figures up everywhere and you've built a much stingier, purity-obsessed endgame.
**`canasta_going_out_bonus` (default 100) / `canasta_going_out_concealed_bonus_total` (default 200)**
Straightforward reward for emptying your hand — 100 points, doubled to 200 if you manage it "concealed" (going out in one dramatic single turn rather than gradually). Raise these and going out first becomes an even more dominant strategy than it already is.
**`canasta_shooting_the_moon_enabled` (default false) / `_instant_win` (default false) / `_bonus` (default 1000)**
The showstopper. If a winning team holds or has melded ALL 8 rank-3 tiles (all 4 bonus threes AND all 4 block threes) the moment it goes out, this fires. Default behavior when enabled: a flat +1000 bonus. Flip `instant_win` on instead and it skips the scoring entirely, ending the current Extended Round immediately as an outright win for the shooting team — no target-score comparison, no argument, just a mic drop.
---
## Scoring
**`canasta_pts_low_max_rank` (default 7)**
The dividing line between "low" tiles (5 points) and "high" tiles (10 points) — ranks up to and including this number are low, everything above is high. Default 4-7 low / 8-13 high. Nudge it up or down to reshuffle which ranks are the cheap-to-play, expensive-to-be-caught-holding ones.
**`canasta_pts_low` (5) / `canasta_pts_high` (10) / `canasta_pts_two` (20) / `canasta_pts_ace` (25) / `canasta_pts_joker` (50)**
The full value scale, used identically whether a tile is melded on the board or sitting in a losing hand at round's end — there's no separate "in-play" vs "penalty" table here, unlike some tile games. This is also exactly why holding a Joker at round's end feels like a small tragedy: it's worth the most, and it's the tile you're most likely to be stuck holding when the round suddenly ends.
**`canasta_never_melded_double_penalty` (default false) / `canasta_never_melded_double_scope` (default 0 = flat penalty only; 1 = 3RED penalty only; 2 = both)**
Off by default, but if you want to make "never opening all round" feel like a genuine catastrophe rather than a mild inconvenience, turn this on — it DOUBLES the never-discarded penalty (and/or the 3RED-in-hand penalty, depending on scope) for a team that never made its first meld at all.
---
## Match End (Game / Extended Round / Normal Round)
**`canasta_match_target_score` (default 10,000) / `canasta_match_requires_close` (default true)**
The finish line for an Extended Round — first team to cross this cumulative total wins it. With `match_requires_close` on (default), crossing the line isn't enough on its own: you also have to actually CLOSE (go out in) the very Normal Round in which you cross it, the classic tile-tradition "prove it" rule. Turn it off and simply crossing 10,000 at any point, mid-hand or not, is good enough. Lower the target score dramatically (5,000 and 8,500 remain fully legal values) for much shorter Extended Rounds — great for testing, or for players with somewhere to be.
---
## Display, Layout & Debug (the purely cosmetic stuff)
Everything below changes exactly nothing about how the game is played — it's all pixels and log files. Included for completeness, because apparently that's the kind of FAQ this is now.
- **Display scales** — `pl_hand_scale` (0.85), `op_hand_scale` (0.50), `board_scale` (0.85), `drop_tile_scale` (0.85), `op_hand_back_scale` (0.25, used only while a hidden AI hand shows tile-backs). Purely how big things are drawn. Shrink `board_scale` if your formations keep running off the edge of the visible play area like an overflowing junk drawer.
- **Seat colours** — `seat_color_pl` / `_op` / `_opl` / `_opr` (green/orange/blue/yellow by default). Red is permanently reserved for "this formation is invalid," so don't bother trying to reassign it — the game will just silently judge you.
- **Plaques, [3RED] zones, OP_L/OP_R hand position** — a small mountain of `plaque_*`, `red3_zone_*`, and `hand_opl_x/y`/`hand_opr_x/y` fields controlling exactly where every on-screen info card and hand row sits. Nudge these if you're customizing the layout; ignore them entirely otherwise.
- **Board grid** — `board_origin_x/y`, `board_origin_y_multi` (the 3/4-player variant), `board_row_gap`, `board_max_fpy`. Where the play area starts and how tightly formations pack together.
- **AI Hands Visible (debug view)** — `show_op_hand` / `_opl_hand` / `_opr_hand` (default true — yes, by default you can peek at the AI's hands, presumably for testing/debugging) plus the matching `show_*_hand_backs` toggles (what's shown when a hand IS hidden — tile backs animating normally, by default, versus nothing at all) and `history_log_show_hand_tiles` (default true — whether the persistent history log spells out dealt hands in full or just logs a tile count).
- **Debug logs** — `log_do` through `log6_do`, six independent on/off switches, ALL off by default, each gating its own `log.txt`–`log6.txt`. Flip one on if you enjoy reading the AI's inner monologue; flip it back off when you remember you don't.
- **Animation Delays** — an entire family of `anim_*` seconds values (turn pacing, pick/drop fly-ins, deal animation, drop-pile seeding reveal, etc.). Set any of them to 0 for a near-instant AI turn — genuinely useful if you're testing dozens of rounds back to back and don't need to watch every single tile fly across the screen in slow motion.
---
*Every default above is exactly that — a default. Every single one lives in its own little box in Settings, independently editable per difficulty Level, and "Restore Defaults" only ever resets the Level you're currently standing on. Go nuts.*
Purchase
In order to download this game you must purchase it at or above the minimum price of $1 USD. You will get access to the following files:
Leave a comment
Log in with itch.io to leave a comment.